Killing your Testnet
CLI
Before killing your Testnet, you need to retrieve the Testnet ID. You can do this by running the command:
harbor list testnet
This gives you:
+--------------------------------------+------------------------+--------+--------------------------------+
|                  ID                  |          NAME          | STATUS |            CREATED             |
+--------------------------------------+------------------------+--------+--------------------------------+
| 49b1aaa6-d44b-4999-b789-c40ec1df8d4f | testnet-one-chain-only | ACTIVE | 2022-10-19 07:52:58.961783     |
|                                      |                        |        | +0000 +0000                    |
+--------------------------------------+------------------------+--------+--------------------------------+
Copy your Testnet ID for the following command:
harbor kill --name <testnet-name>
It will take a few moments, then you should see:
🌏 Status: DELETE_COMPLETE [2m26s] Stopped the testnet
This confirms that your Testnet has been terminated!
UI
In your Testnets list page, choose a Testnet you'd like to kill then click on the Settings button on its card.
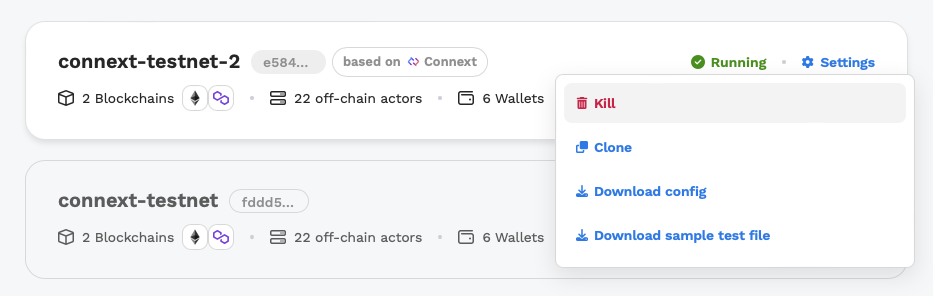
When a Testnet is fully Running, you can click the Kill button to remove a Testnet. It takes a few seconds to kill a Testnet. Until then, you’ll see Killing as the Status. Once a Testnet is killed, it’ll be marked as Killed.
