Creating different versions of your Testnet
You now have a running Testnet. Awesome! What if you wanted to create different versions of this Testnet? Say, one for release, one for development and one for staging? Can you do that?
Absolutely! There are two ways:
- Create a new Testnet with the same configuration, but a different name
- Clone an existing Testnet with a different name
Applying configuration to a different Testnet
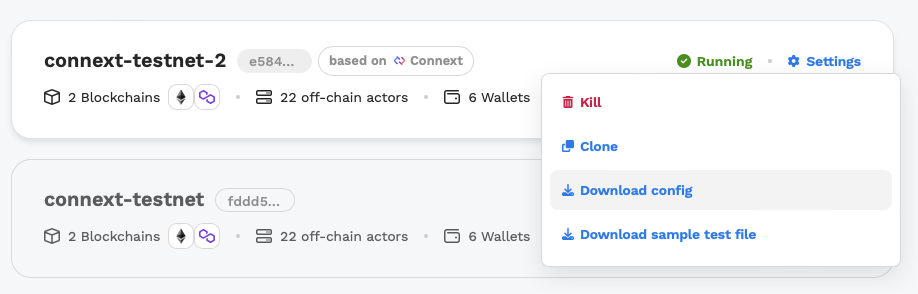
Before applying a configuration to a different Testnet, we must download the config file. Head to your list of Testnets page in a project, click on the Settings button of a Testnet card, then click Download config.
After you download the config file and place it in a directory of your choice, you can run the command:
harbor apply pre-release-environment-testnet --config /path/to/config
Where pre-release-environment-testnet is a custom Testnet name you can provide.
You should see this log:
Doing preflight checks...
Creating smart contracts...
Preparing your ethereum deployment...
Building chain image... 100% |████████████████████████████████████████|                          | (0/1, 0 it/hr) [0s:0s]
⠴ Pushing images to container repository  [4s]
Constructing chain...
🌎 Testnet create/update in progress...  [1m33s]

###### 1 Chains

Chain = ⛓️ethereum
Status = ✔ RUNNING
Endpoint = 🌎 http://54.81.226.241:4000


###### 0 Off-chain actors
Cloning an existing Testnet
Another option is to clone an existing Testnet into a different one. You can do this through the CLI or through the UI.
CLI
To do so, run the command:
harbor clone <source-testnet-name> <new-testnet-name>
For example, if you wanted to create a special version that was for production you would do:
harbor clone staging-testnet production-testnet
The logs look exactly like running a new Testnet:
🌎 Testnet create/update in progress...  [1m11s]

###### 1 Chains

Chain = ⛓️ethereum
Status = ✔ RUNNING
Endpoint = 🌎 http://52.87.189.46:4000


###### 0 Off-chain actors
UI
To clone a Testnet via the UI, head over to a project you own and click on the Settings button of any Testnet.
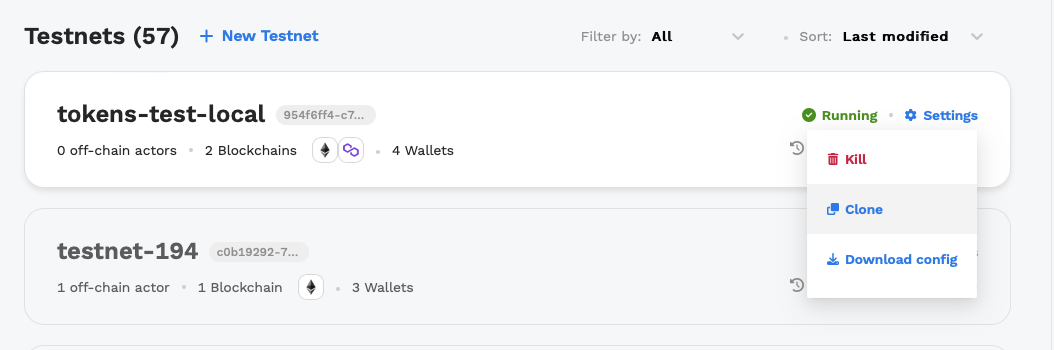
Click the Clone button to start the process of cloning a new Testnet. You should see a new Testnet with the status Cloning.
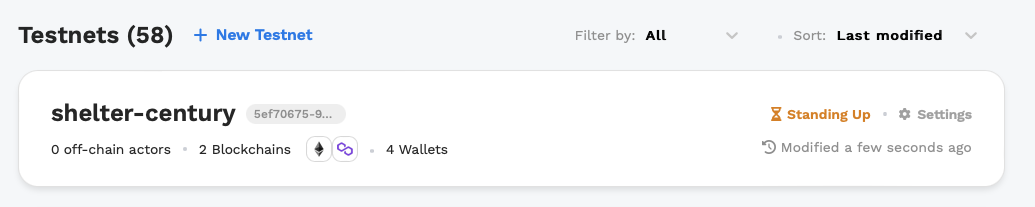
After some time, the Testnet will say Running.